|
|
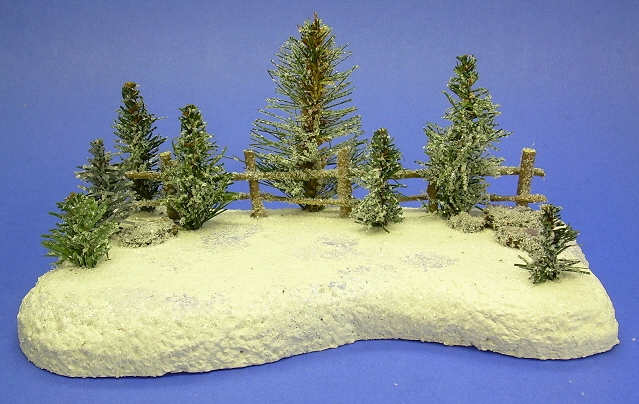
Free Scenery "Set Pieces"
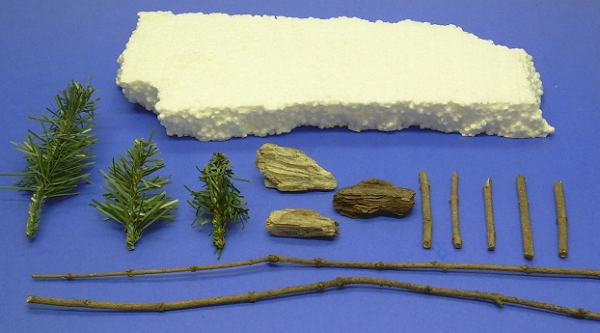
Here's a way to add a vertical dimension to your temporary railroad or display village for little or no money. You need:
- A hunk or three of styrofoam packaging or insulation
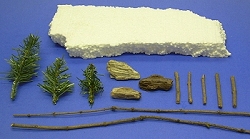 Pieces of bark mulch (or rocks) Pieces of bark mulch (or rocks)
- Bits of cast-off artificial Christmas tree or garland with a wire core
- White glue (such as Elmer's)
- Clear glitter (Sulyn is the brand I like)
- Sticks for fence (optional)
Making the Base
- When you're satisfied that the "footprint" of your base looks "organic," carve or rub off the top edges to smooth it out.
- Paint it with a white paint that doesn't make it dissolve (interior Latex room paint or ceiling paint is usually good).
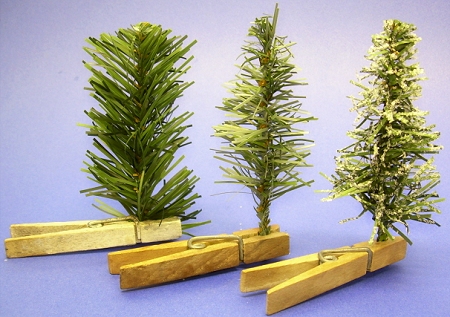
Making the Trees
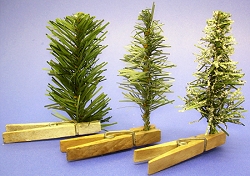
- Each "tree" should have a 1/2"-3/4" "trunk" that can go into the base. Add that amount to how tall you want your first tree to be, and cut it to the total length.
- Trim all of the "foilage" from the "trunk.
- Trim the remaining foilage at an angle to reveal a cone shape.
- Brush white glue on the foilage and sprinkle with the clear glitter.
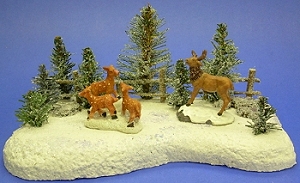
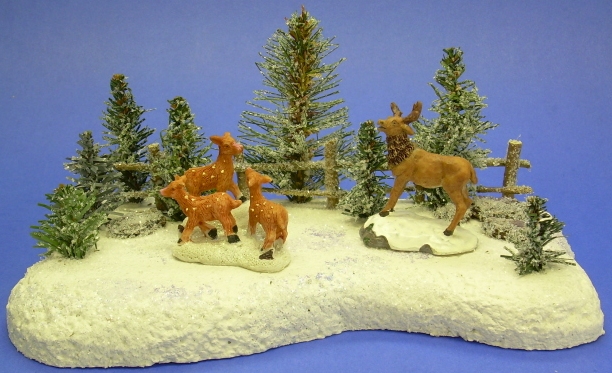
Arrange and Install
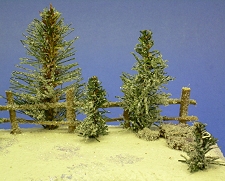
- Try your "rocks," "trees," and "fences" out in several different configurations.
- When you get it the way you want it, glue the rocks down.
- Use an awl, shish-kabob skewer or some such to poke "starter holes," through the paint for the "fence posts" and "trees." If you decide later you need to "move" a hole, you can fill it with glue to smooth it out and top it off with paint or glitter later.
- Spread white glue over the "rocks" one at a time and apply the clear glitter. If you want to put glitter all over the base, too, you may, but work only on a few square inches at a time. The white glue will dry clear, so don't be disappointed if things look a little silly at first.
- When the glue on the base is dry enough to handle, insert each tree and fence post, putting a little glue in the hole first.
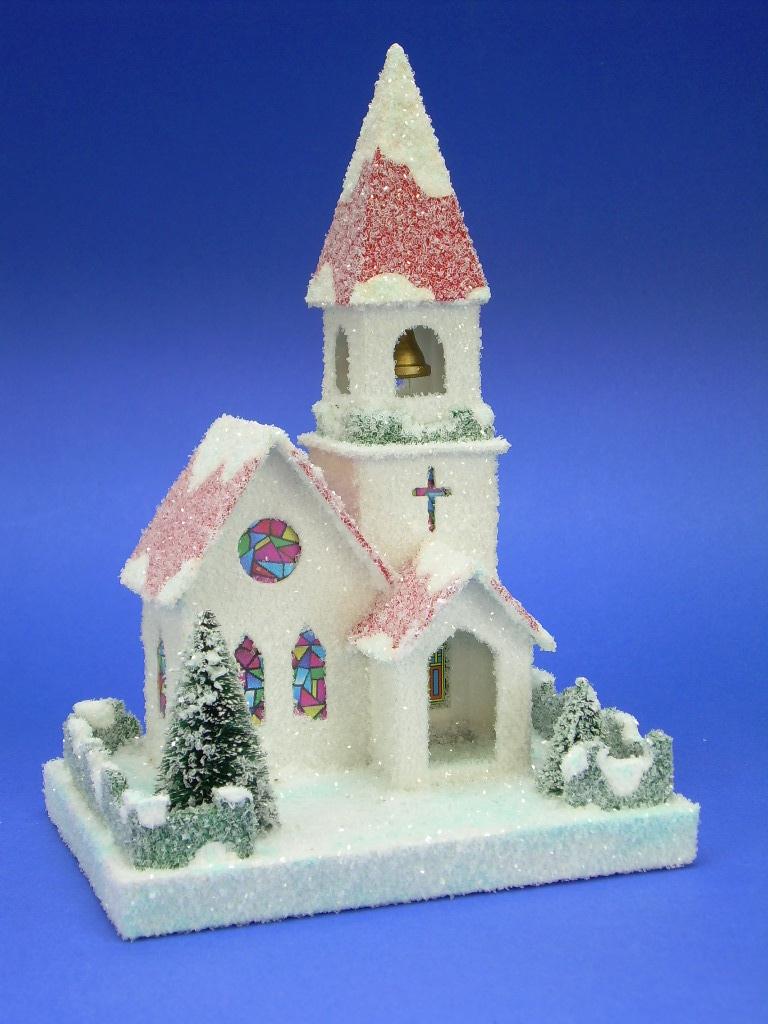
- When that's all dry, add any accessories you please.

Conclusion
Hopefully this article gives you ideas for many other projects you can use to dress up your temporary railroad or village display. Also, there is no reason your base has to represent snow - you could leave off the glitter and use sawdust with green or orange highlights to represent grass or autumn leaves, for example.
For other article on making scenery trees for indoor trains and towns, check out the 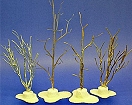 following links. following links.
 For more scenery ideas, check out our Scenery Tips page. For more scenery ideas, check out our Scenery Tips page.
Return to Howard's How-To's
|


|
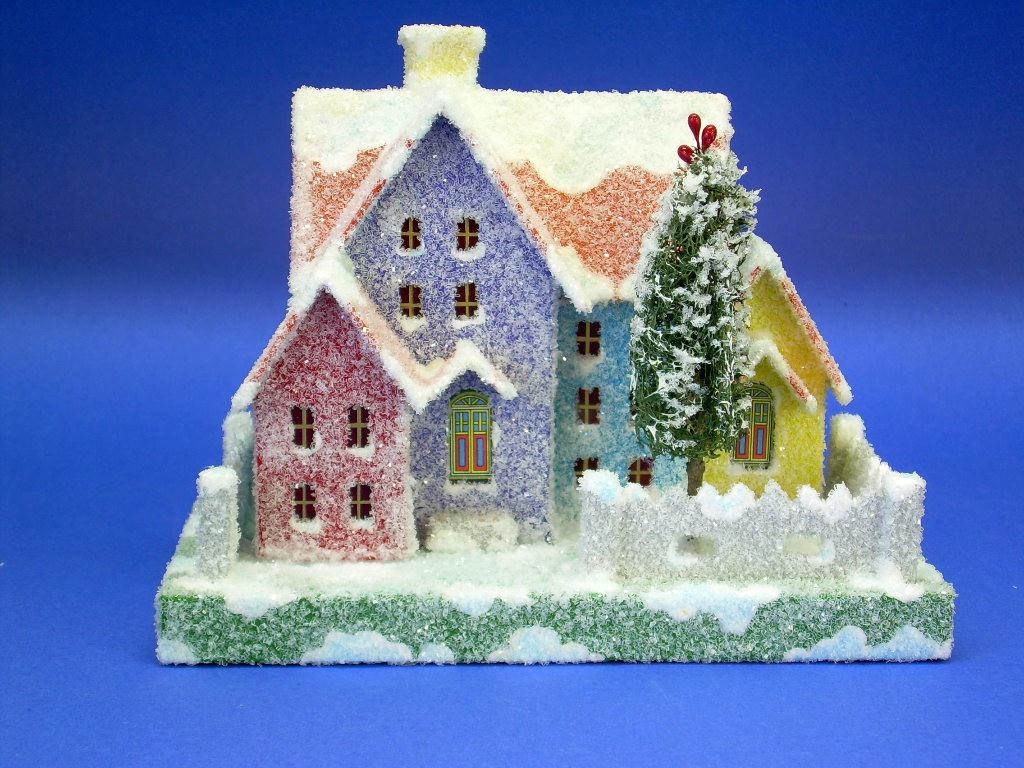

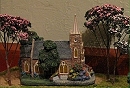
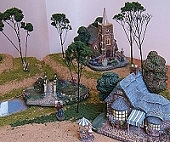 Using a foam-based portable scenic foundation to display your trains and towns to their best advantage.
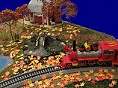 Bringing Autumn to Your Railroad or Display Village