|
| | |
|
Making Tin Train Cars
|
|
First, let me say that I am not the "expert" or the only one making tin train car reproductions. Neither did I develop the techniques or the designs. I am not making exact copies of the originals either, just my own versions inspired by the vintage ones.
For those who enjoy the challenge of precise measuring, cutting, folding, bending, drilling and detailed finishing, give building your own version of a vintage tin train car a try.
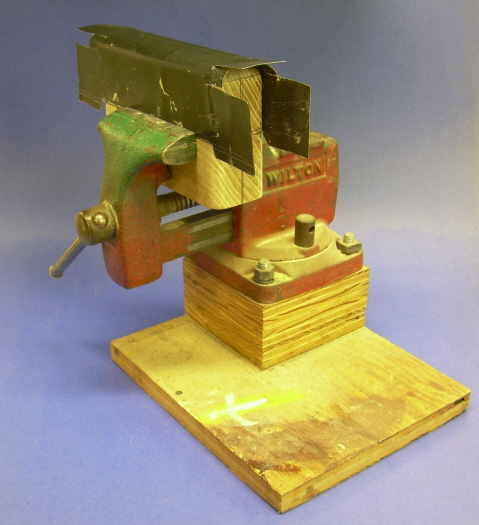
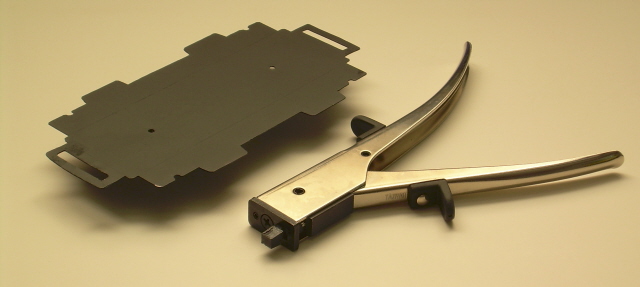
The process uses well-known sheet metal working techniques, hand tools and a small bench vise. Since there are only a few small holes to drill, an "egg beater" style hand drill can be used in place of an electric drill. The only hand tool that may not be familiar is a "nibbling cutter". It's name says it all--just squeeze the handle and the cutter "nibbles" away a small bite of metal leaving a relatively clean, distortion free edge on the piece you are cutting out.
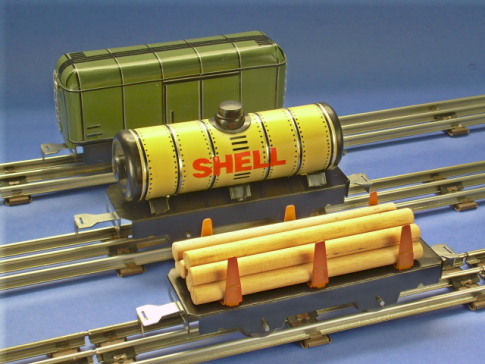
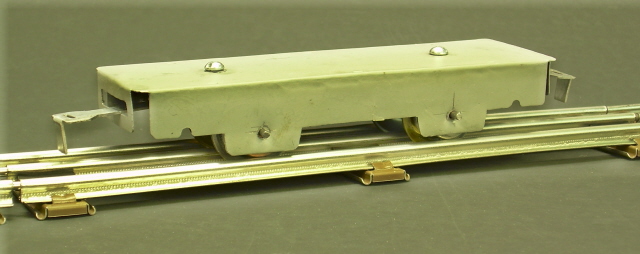
The cars, which run on O-27 three rail track, are basically two separate assemblies.
| | |
 |
| |
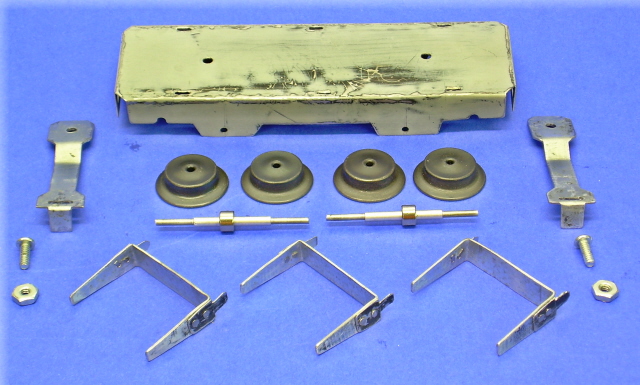
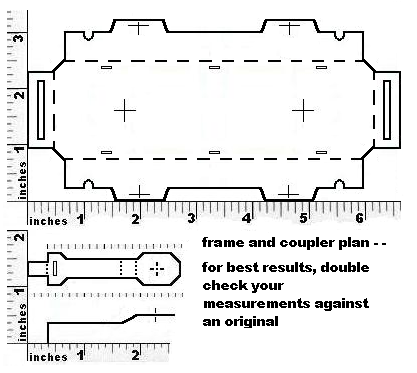
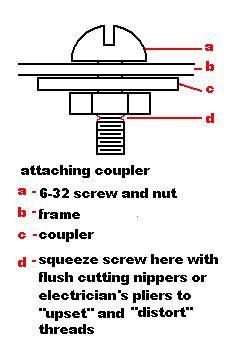
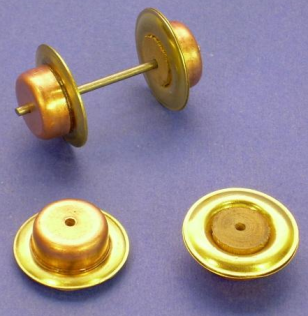
The frame is a one-piece folded sheet metal platform. Wheels (which I prefer to buy rather than make), heavy-duty coat hanger wire axles along with couplers, cut from thicker sheet metal, complete the frame. A small diameter metal tube, held in place with a model airplane size shaft collar, fits over each axle and maintains the correct wheel gauge.
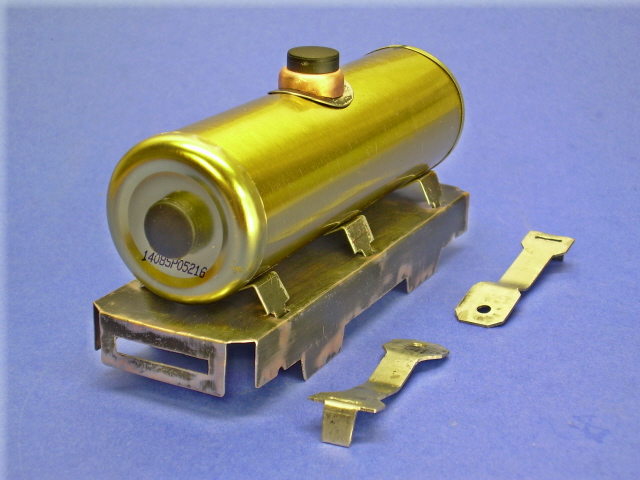
The bodies are cut and folded from cookie tins, fruitcake containers and 1-gallon mineral spirits or paint thinner cans. A wooden block is used as a temporary building form to make some car bodies such as the basic box car.
After making the body, it's ready for primer, spray paint and graphics. Finishing consumes much more time than it might appear. This usually involves masking off certain areas, more spray paint, followed by narrow tape to simulate seams, ladders and roof walks. Hand painting the rivets, adding model railroad decals and adhesive back vinyl letters may be needed as well.
The body is then fastened to the frame using body tabs slipped into slots in the frame. The tabs are about 1/8-inch wide by 1/4-inch long. A twist of the tab ends, using pliers, pulls the body down upon the frame forming a completed tin train car.
If you are interested in learning more about the world of vintage tin model railroad cars, you are just a few mouse clicks away. An internet search of "Marx tin lithographed trains" will provide many sites filled with history, opinions, photographs and details.
|
|
|
|
|